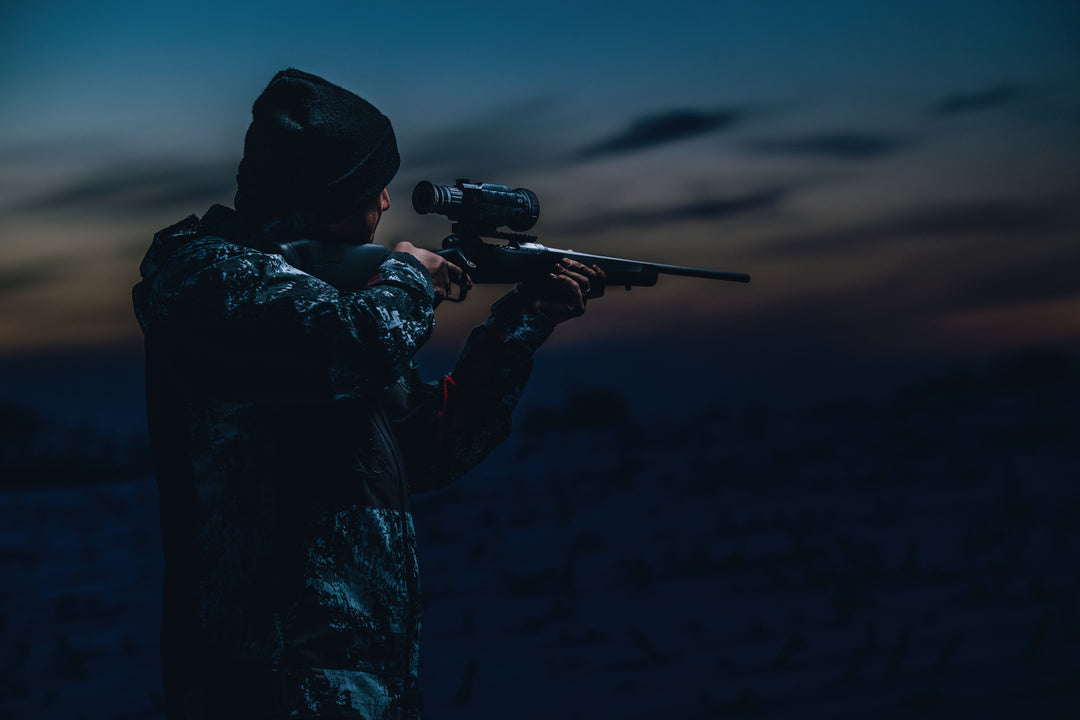

If you’re new to trail cameras and don’t know how you should set one up, we’ve got you. Setting up a trail camera is are easy to do, but there are key factors to keep in mind. Follow along so you can up your game this fall hunting season.
 You don’t want to trigger your camera from stray brush or branches. When setting up a trail camera, check the surrounding area for anything that could cause an unnecessary trigger. It’s also important to know whether you are aiming to take pictures or videos. Of course, videos will take up more space on an SD card than photos, but maybe that is what you want. Knowing your plan before putting up your camera can help figure out the right spot for it.
How High Up to Put Your Camera
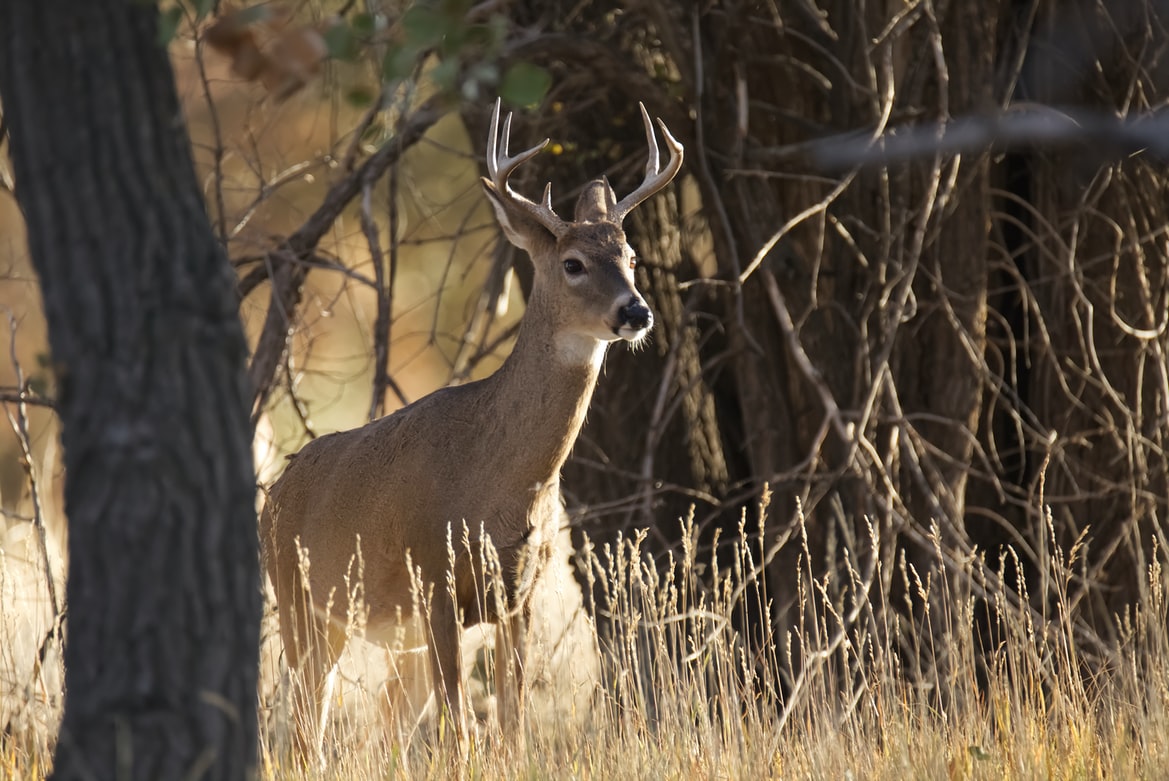
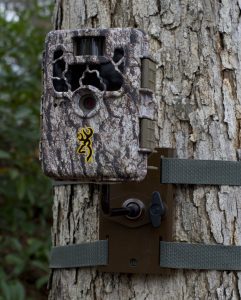
Where you place your camera can vary depending on whether you are on public or private land. On private land, place your camera three to four feet off the ground. You don’t want the camera at the same height as you—you want it at the height of a deer. Placing your camera at this height could mean it’s easy to find and someone could potentially take it. That’s why if you are on public land, you should place your camera about ten feet high. Then, angle it down so you can see when deer walk past. Passerby won’t notice it as easily.Clear Away Brush & Branches
You don’t want to trigger your camera from stray brush or branches. When setting up a trail camera, check the surrounding area for anything that could cause an unnecessary trigger. It’s also important to know whether you are aiming to take pictures or videos. Of course, videos will take up more space on an SD card than photos, but maybe that is what you want. Knowing your plan before putting up your camera can help figure out the right spot for it.